Since I started to learn to weave I wanted to weave myself a pair of viking leg wraps (also known as winingas). These are narrow strips of fabric that wrap around your ankle and calf (finishing just below the knee). They are quick to warp up and comfortable to wear.
I have now made 5 pairs and I’m starting my 6th. I thought I would document the process I use to make them in case anyone else is interested.
The leg wraps I make are about 8 meters long and 4 inches wide. I use 2 ply wool that is bought from Bendigo Woolen Mill. I have found that setting up a pattern that is 24 threads per inch works well with this wool. To get 4 inches wide you need to setup the loom with 96 threads. I also like to add a floating selvedge which means I need to wind out 98 threads.
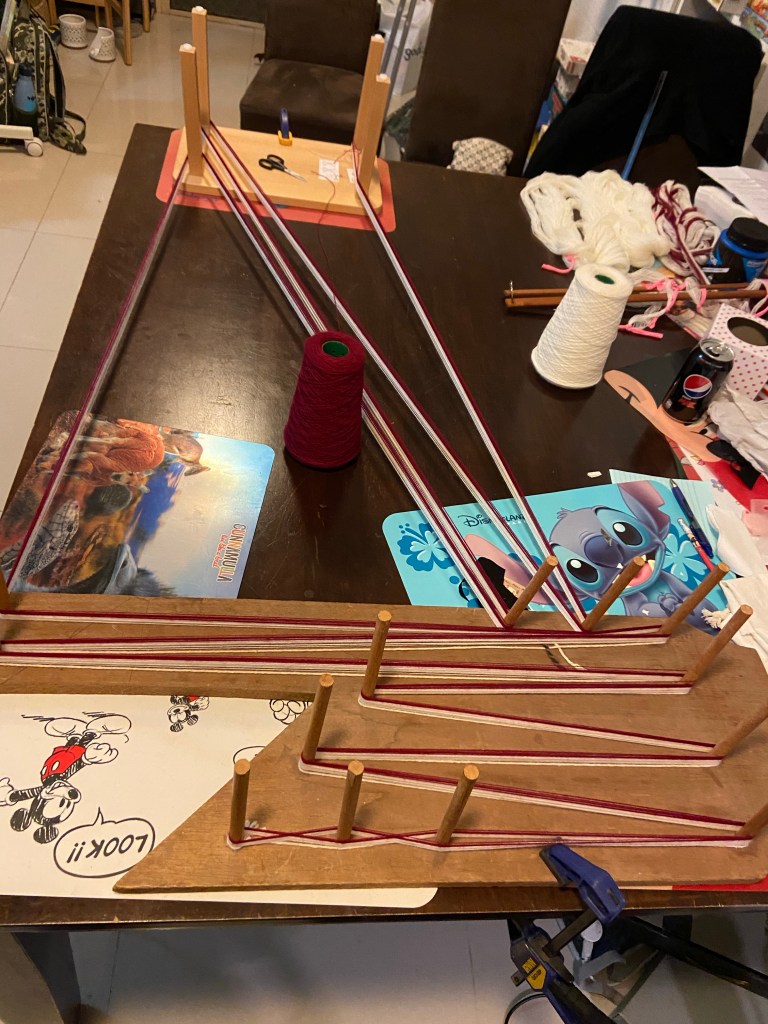
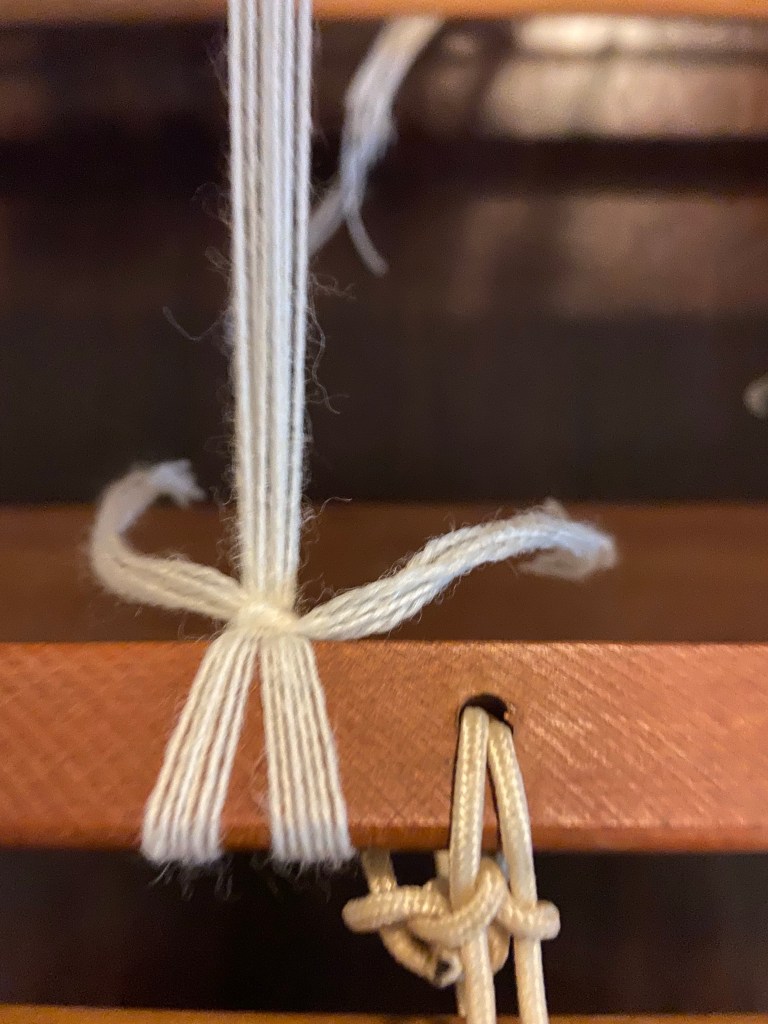
When winding out threads you can use anything (including chairs or a small stool as pictured above). The important thing when winding out the warp threads is to maintain a cross. This is to help with the thread order

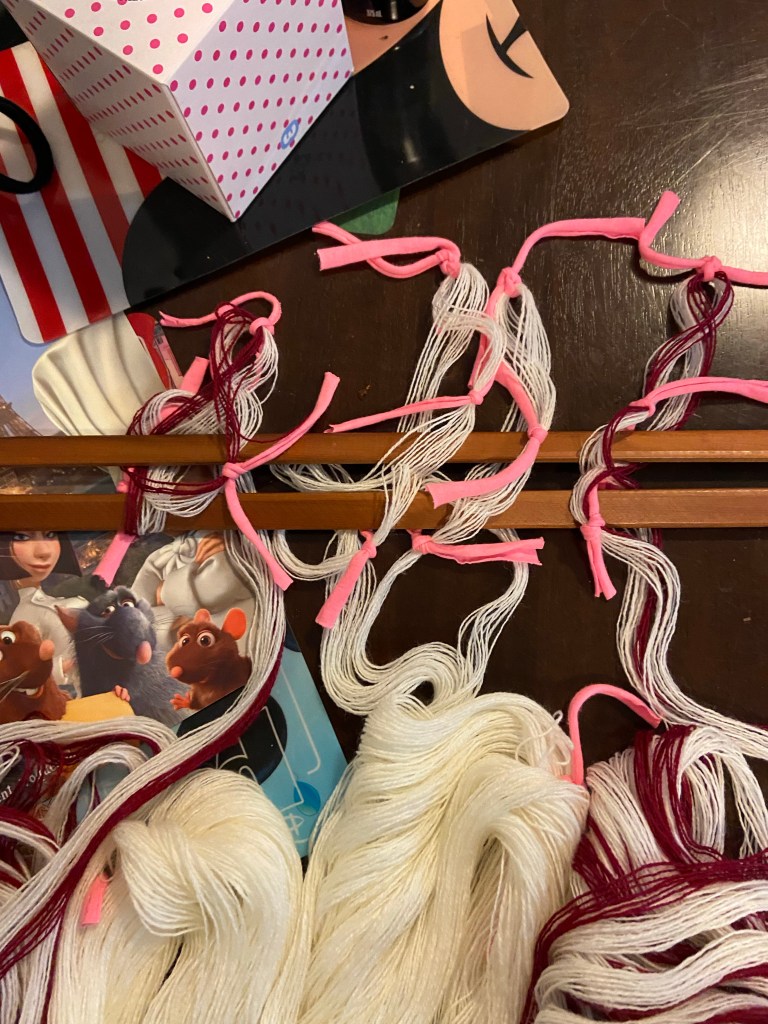
I like to do bundles of 12 or 24 threads so I don’t put too much pressure on the warping pegs. Once the bundles of threads are all wound out put something in the threads to keep them together (this is the pink segment). When you have all the bundles of threads the next step is to put them onto the cross sticks (to help maintain the cross)
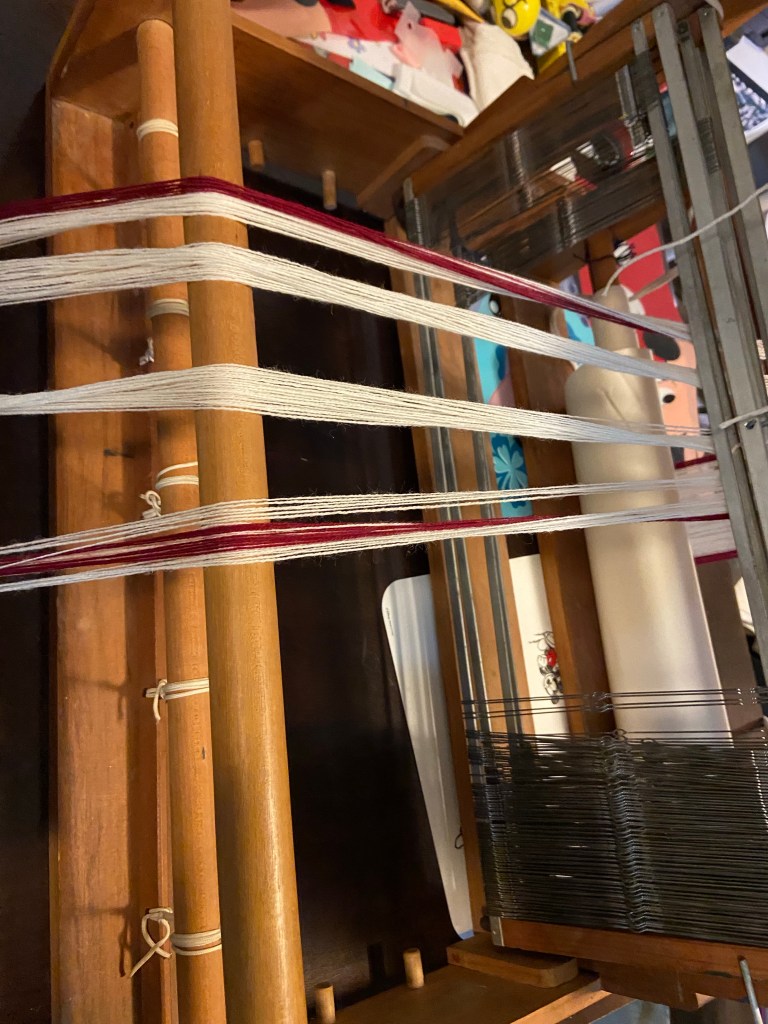
Once all the threads are on the crossing sticks the next step is to start winding them onto the loom. I like to add the threads to the back beam and wind them on. I use a raddle to help space out the threads while winding on


Once you have the raddle setup and something to stop the threads coming loose it’s time to start winding on. I use a roll of paper from IKEA included in the winding on to help keep the threads separated and help maintain tension. To help with tension I also weigh down the threads with something heavy, but not too heavy that it prevents the threads from moving
Once you have finished winding on the back beam it’s time to setup the pattern. Personally I like either a herringbone or broken diamond twill pattern, and fortunately they both have the same warping pattern. The pattern is: 3, 4, 1, 2, 3, 4, 2, 1, 4, 3, 2, 1. This pattern keeps repeating until you run out of threads

Once that is complete you can start setting up the reed and tying the threads to the front beam. As mentioned above I use 24 threads per inch and with my reed that means each slot has 2 threads in it
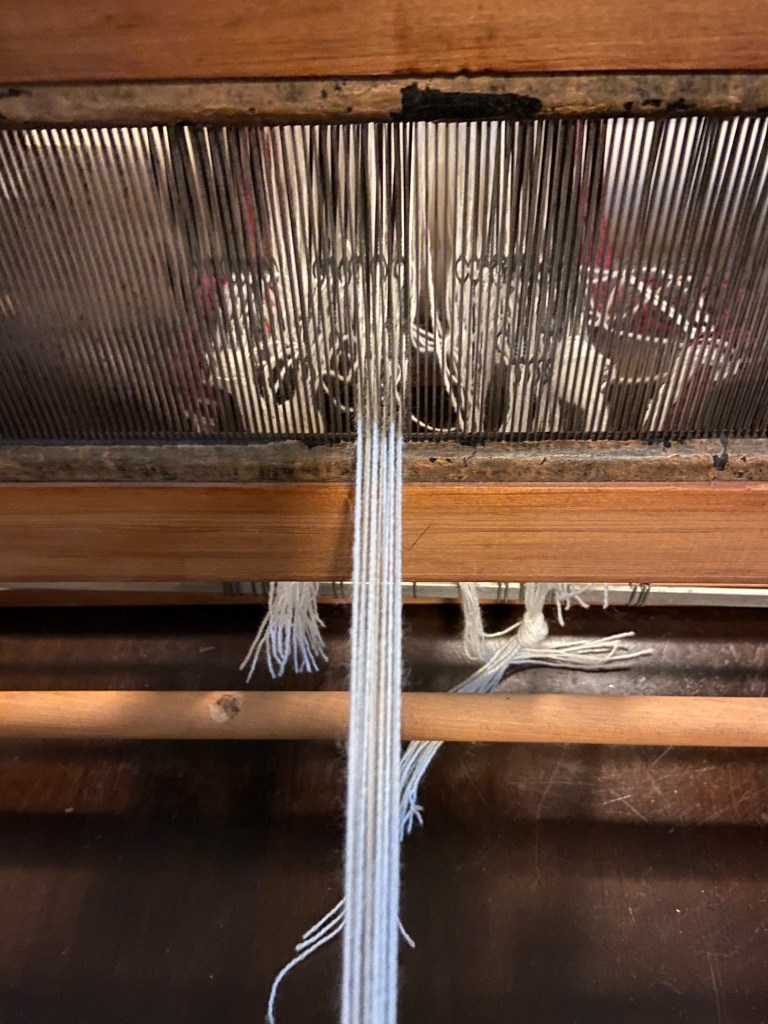
When tying threads onto the front beam try and work from the middle out so you can get an even tension on the front beam
Once everything has been brought through and you have tied all the threads onto the front beam you need to check the tension is even. You can do that by hand to start with, but to verify it you will need to do some weaving

Once you are happy with the tension it’s time to start weaving. For the herringbone twill the progress is: 12, 23, 34, 41 and keep repeating. For the broken diamond twill it’s a little more complex. It’s 12, 23, 34, 41, 12, 23, 14, 34, 23, 12, 14, 34 and keep repeating
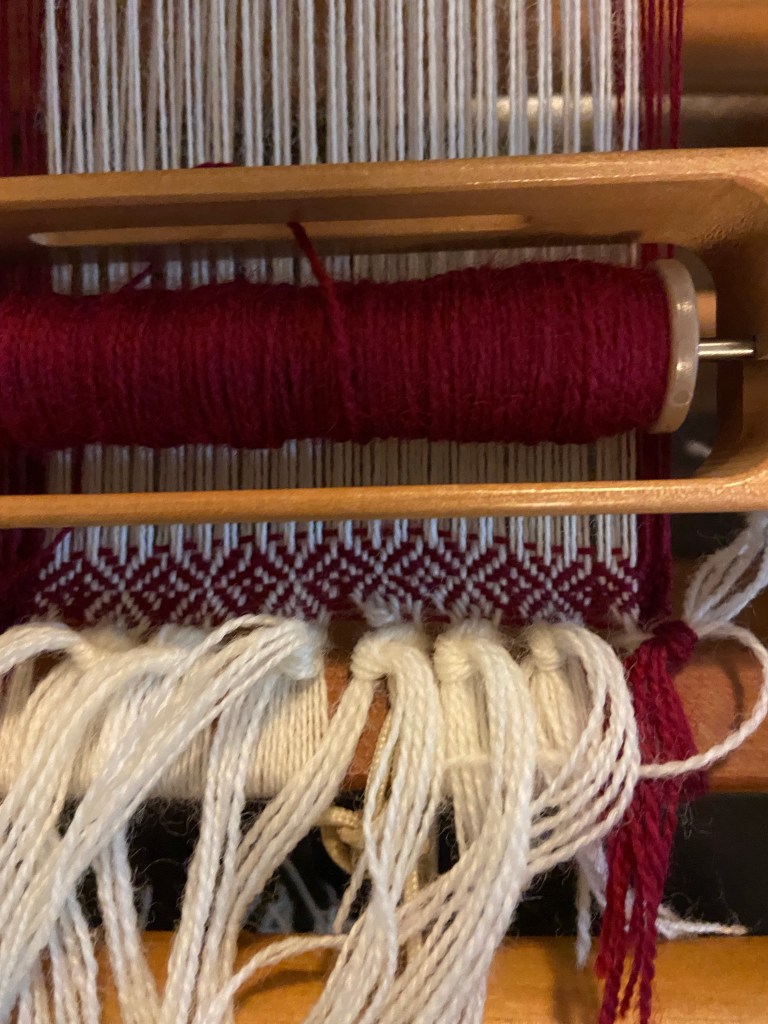
As you can see above, after a bit of weaving you can both check the threading is correct as well as the tension. I got the threading correct but had problems with the tension. This is easy to fix now

Once you get the tension right just add another knot to the threads and you are ready to keep weaving.
Once I have finished weaving the 8 meters of fabric I cut it off the loom, do a simple rolled hem to stop the ends from fraying and throw it in the washing machine. This helps relax everything and also gives you an idea of how the fabric will appear once you wash and wear it. Then I cut it in half, do another couple of rolled hems and the leg wraps are ready for wearing

Leave a comment