I have recently started to experiment with tubular inkle loom weaving. I am going to combine both tubular and standard (ie flat) weaving into this band. I am doing this because the band will be used for the shoulder strap of a hedeby style bag and I want the part on the shoulder to be flat, but the part near the handles to be a tube so it can travel through the holes more easily.
I started the process by warping up my inklet loom. The warp is a continuous loop and you weave a small section, then shuffle the warp and keep weaving.
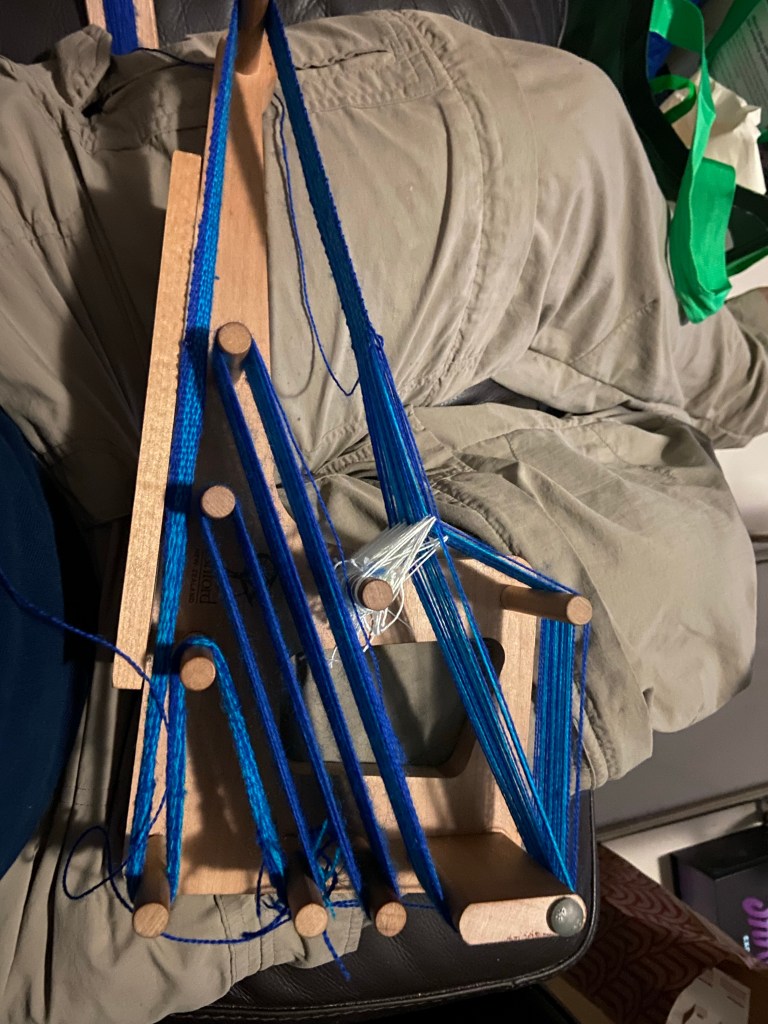
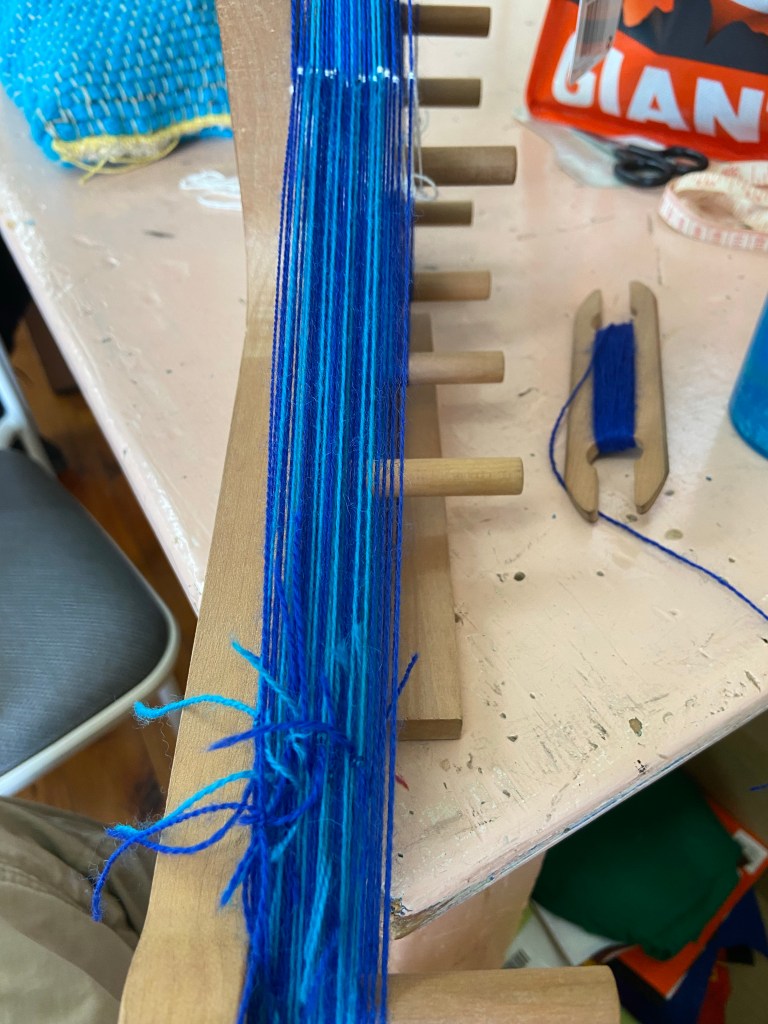
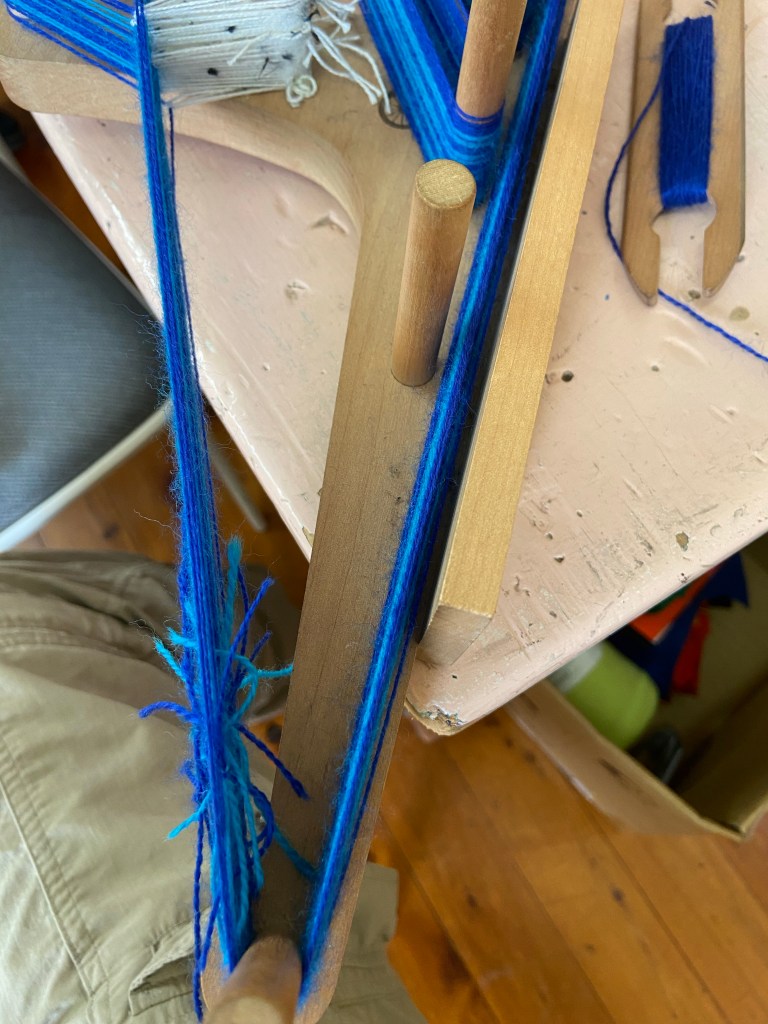
After the loom was setup (dressed) I began the weaving. In normal inkle weaving you weave from one side, move the threads (either up or down) to create a new shed, weave back the other way and then repeat. For tubular weaving you instead weave from one side, move the threads to create a new shed, and weave from the same side again. To get the shuttle back you need to take it either over or under the warp (in this case I did over). Make sure you keep taking it the same way otherwise the tube will have issues.
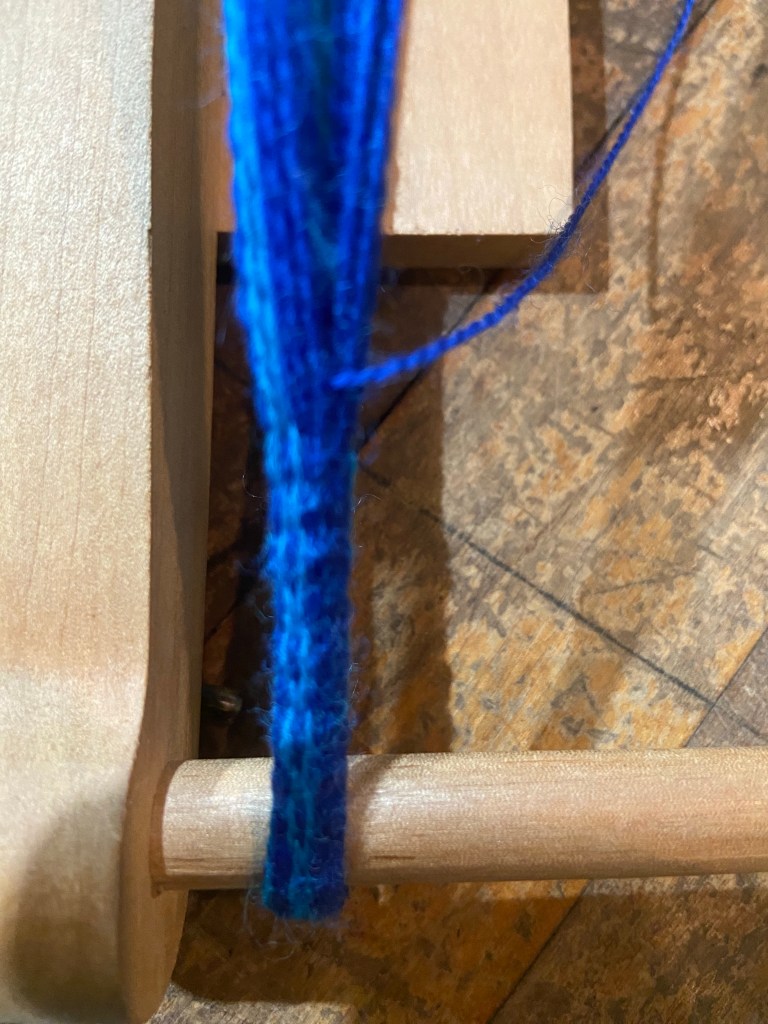
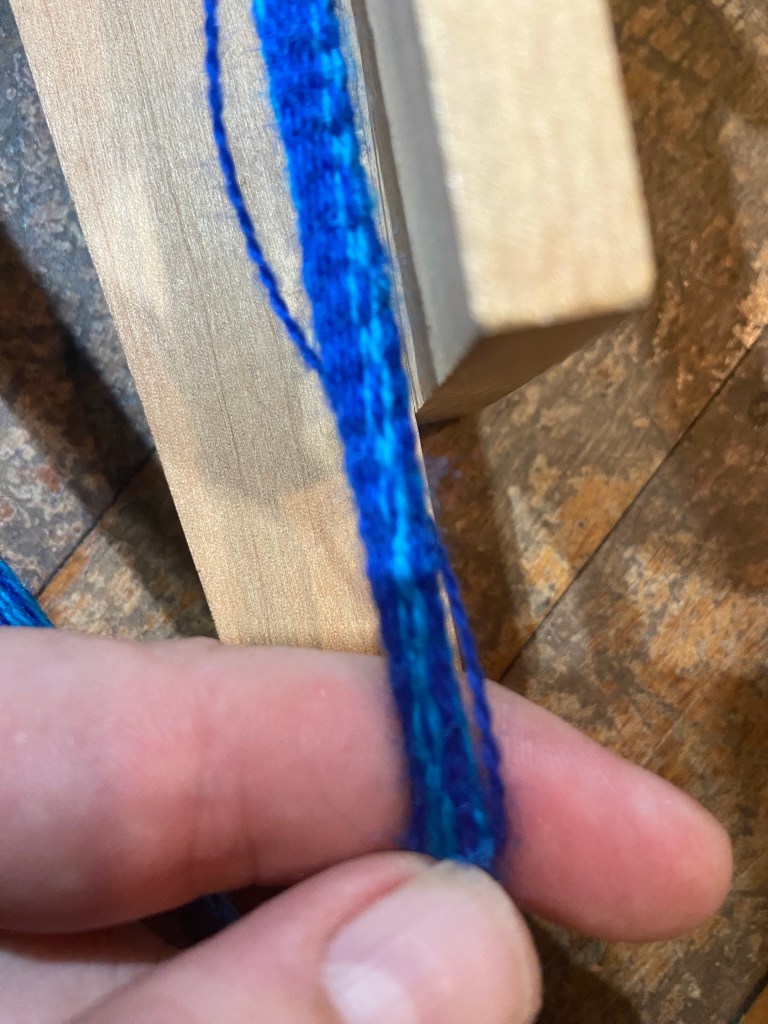
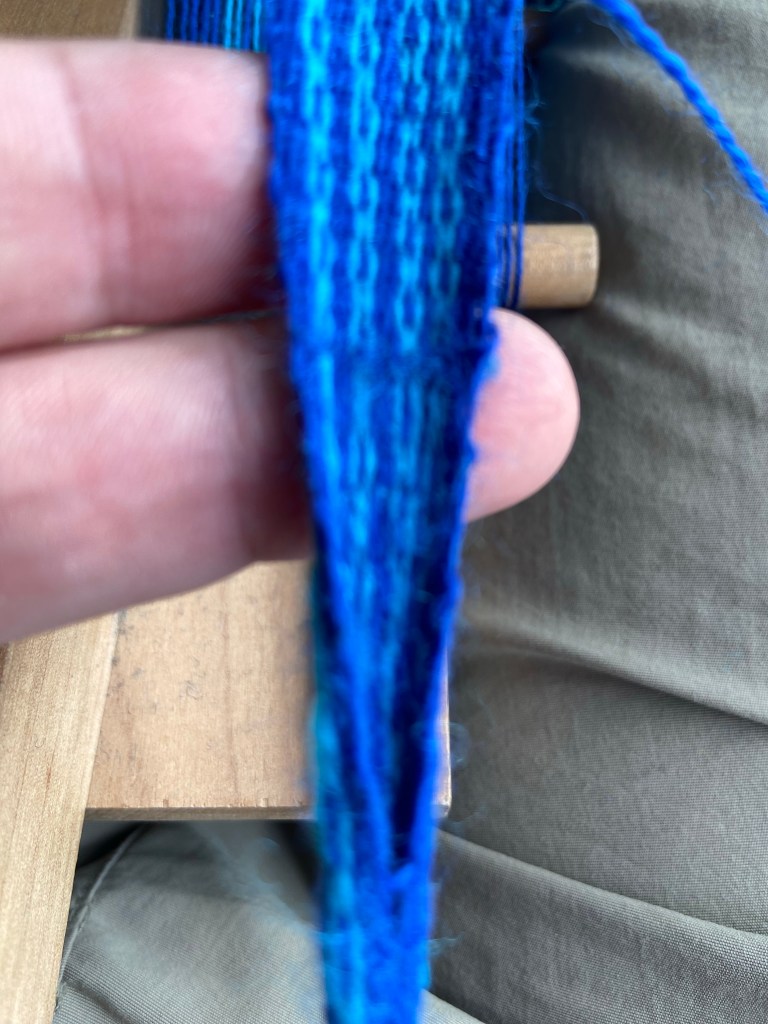
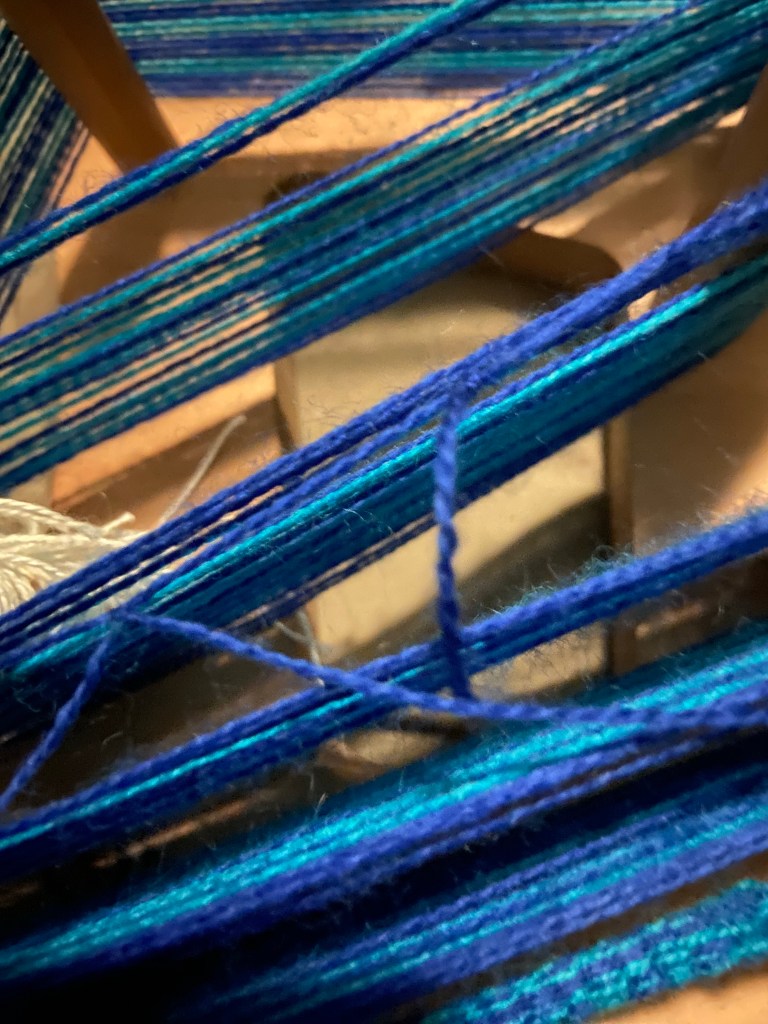
Once I had woven enough of a tube, I started to do a normal weave (ie weaving from both directions). In the picture below you can see the transition from a tube to the flat band. When I get close to the end I will then go back from a flat band to the tube. One thing I did find is that I needed to pull the flat weaving apart a little so it was the normal width. After doing the tubes and pulling the thread so tight the flat weaving was also very tight.
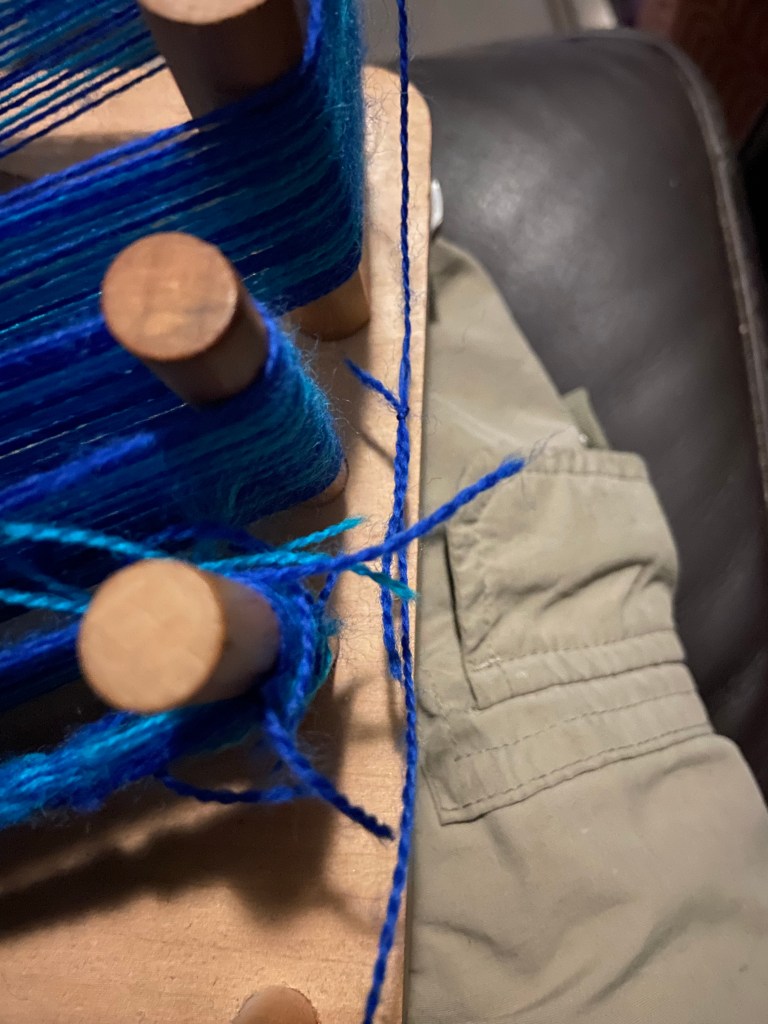
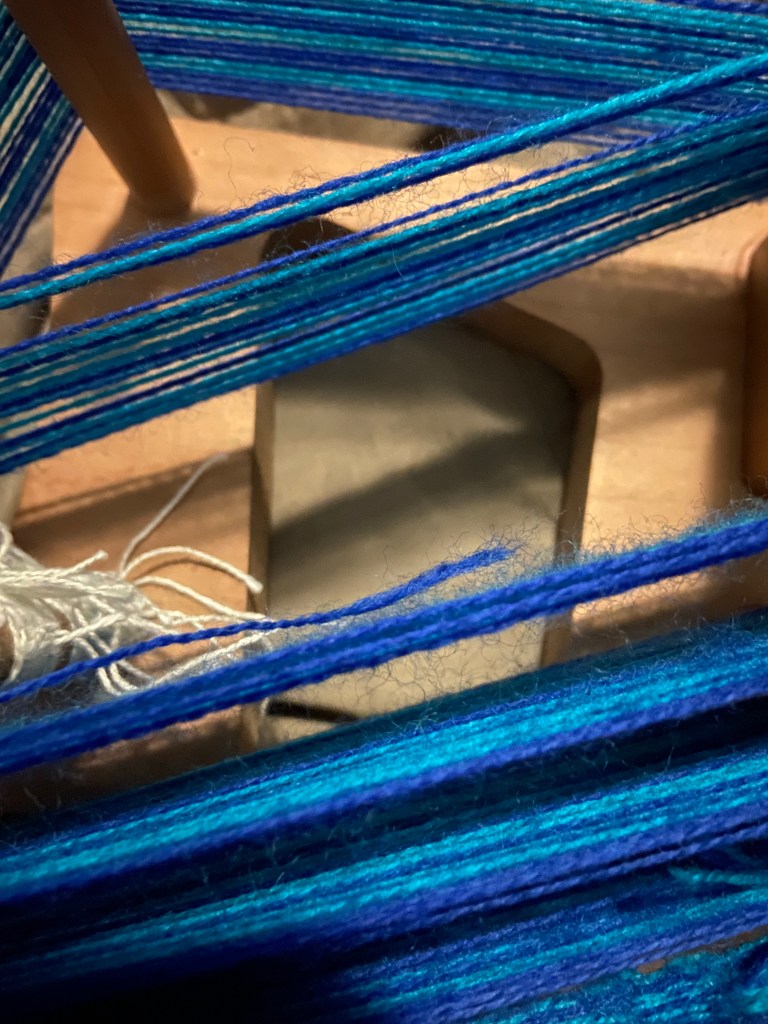
One thing that did happen that I also want to document is that I got a snapped warp thread. To fix this I just got some thread of the same colour and tied it to the two ends. Once I have woven this section down I will then just need to cut off the knots and excess threads.

Leave a comment